


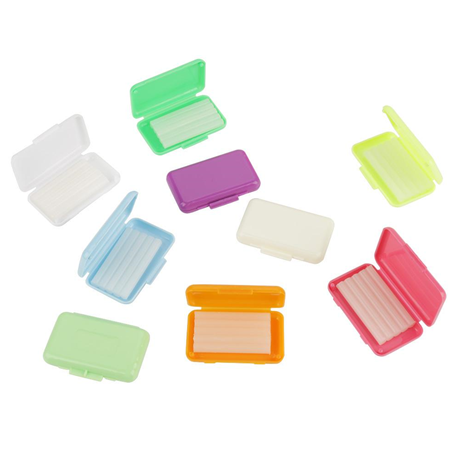
Feature: 1. 100% brand new and high quality. 2. This product is helpful to alleviate and prevent gum irritation caused by braces and other dental;devices. 3. You can evenly apply the ortho wax on the wire to reduce the friction between the wire and the oral;mucosa. 4. It applies to people who are in the process of orthodontic correction. 5. They includes ten different colors and each color represents a taste.
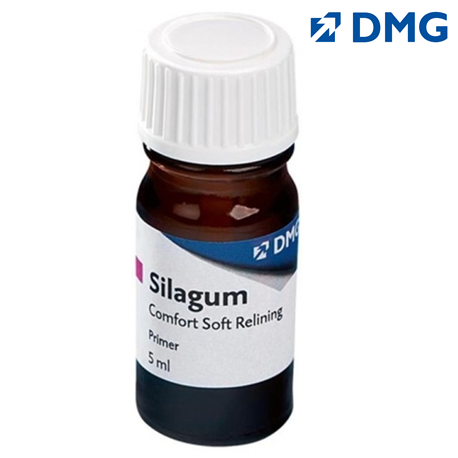
FEATURES: Excellent recovery after deformation Good hydrophilicity High-contrast shades Tailored to all dental requirements KEY SPECIFICATIONS : TECHNICAL DATA: Silagum Comfort Silagum Varnish Application time* 1.45mins 2mins Setting time in mouth 6 min Setting (curing) time* 15 min 15 min Evaporation time Disinfection of the Automix-Dispenser The Automix-Dispenser and the trimmer and brush holders can be reused after disinfection and sterilization, but should be replaced if there are visible signs of wear (e.g. scratches). The device can be disinfected and sterilized using a commercially available immersion disinfection solution. DMG recommends using only RKI (Robert Koch Institute) listed disinfection solutions. The Automix-Dispenser is also autoclavable Storage and Shelf Life Store in a dry space at normal room temperature (15 – 25 °C / 59 – 77 °F) Do not store in the refrigerator or freezer Keep out of direct sunlight Leave used mixing tips on the cartridge after use. They serve as a cap Do not use past the expiration date DIRECTIONS TO USE : Direct relining in the patient’s mouth 1. If necessary, remove old permanently soft relining material. 2. Trim off a minimum of 1 mm of all the areas needing to be relined. DMG recommends a rounded preparation of the edges of the dentures. Note: Following this preparation, protect the denture surface from moisture, saliva, and monomer-containing resins. 3. Apply an even layer of primer (Silagum-Comfort Primer) in accordance with the manufacturer’s information and let the solvent evaporate completely (approx. 1 minute). Be sure to completely cover the ridges and edge areas. Apply at least two coats 4. Apply Silagum-Comfort first on the ridges and edges of the denture and then on the base of the denture. The layers should be at least 2 mm thick 5. Remove saliva with a suction instrument. Caution! Uncured silicone can trigger the patient’s gag reflex. Therefore, to prevent the silicone from entering the patient’s throat and esophagus, be sure that the patient is sitting upright and slightly bent forward when performing any functional movements. 6. Insert the denture into the patient’s mouth within the specified application time and instruct the patient to bite into normal occlusion. Have the patient perform gentle swallowing and chewing movements (without exerting excessive pressure) for 5 minutes with his or her mouth closed 7. Remove the denture from the mouth after approximately 6 minutes and let it harden 8. Clean and disinfect the denture. Note: If needed, carefully align the dry and grease-free relining by applying and modeling additional Silagum-Comfort. Let it set in the patient’s mouth for 7 minutes or in a pressure pot (40 – 50 °C) for 5 minutes 9. Remove excess material with sharp scissors or a scalpel. Smooth the trimmed edges with a suitable silicone trimmer 10. Using a brush, apply the Silagum-Comfort Varnish to the treated areas in accordance with the manufacturer’s instructions, avoiding air bubbles as much as possible, and then let dry. Indirect relining at the laboratory 1. Following a functional impression, the gypsum is poured into the denture on the jaw side and mounted on a relining jig. Note: Do not use polyether as the impression material. The impression material used should have a long application time and appropriate viscosity. DMG recommends applying a suitable separating medium (gypsum against resin) 2. Produce a negative by pouring the occlusal part of the denture or rows of teeth, which must be firmly fixed in its vertical relationship to the model. For this purpose, DMG recommends using a special relining device that facilitates the exact repositioning of model and negative (cuvette) 3. Remove impression material 4. Trim the denture surface on the jaw side at least 1 mm and clean it. Note: Following this preparation, protect the denture surface from moisture and monomer-containing resins 5. Apply an even layer of primer (Silagum-Comfort Primer) in accordance with the manufacturer’s information and let the solvent evaporate completely (approx. 1 minute). Be sure to completely cover the ridges and edge areas. Apply at least two coats 6. Apply Silagum-Comfort first on the ridges and edges of the denture and then on the base of the denture. The layers should be at least 2 mm thick 7. Reposition the denture on the model, and use the cuvette to completely envelop the negative 8. Let the material set and harden for 10 minutes in the pressure pot at 40 – 50 °C. Note: If needed, carefully align the dry and grease-free relining by applying and modeling additional Silagum-Comfort. Let it set in the pressure pot for 5 minutes (40 – 50 °C) 9. Remove excess material with sharp scissors or a scalpel. Smooth the trimmed edges with a suitable silicone trimmer 10. Using a brush, apply the Silagum-Comfort Varnish to the treated areas in accordance with the manufacturer’s instructions, avoiding air bubbles as much as possible, and then let dry. Packaging DMG Silagum Comfort Primer: 1 x 5 ml Bottle